Jellycat Birthday Cake with Vanilla Sponge
Highlighted under: Dessert Recipes
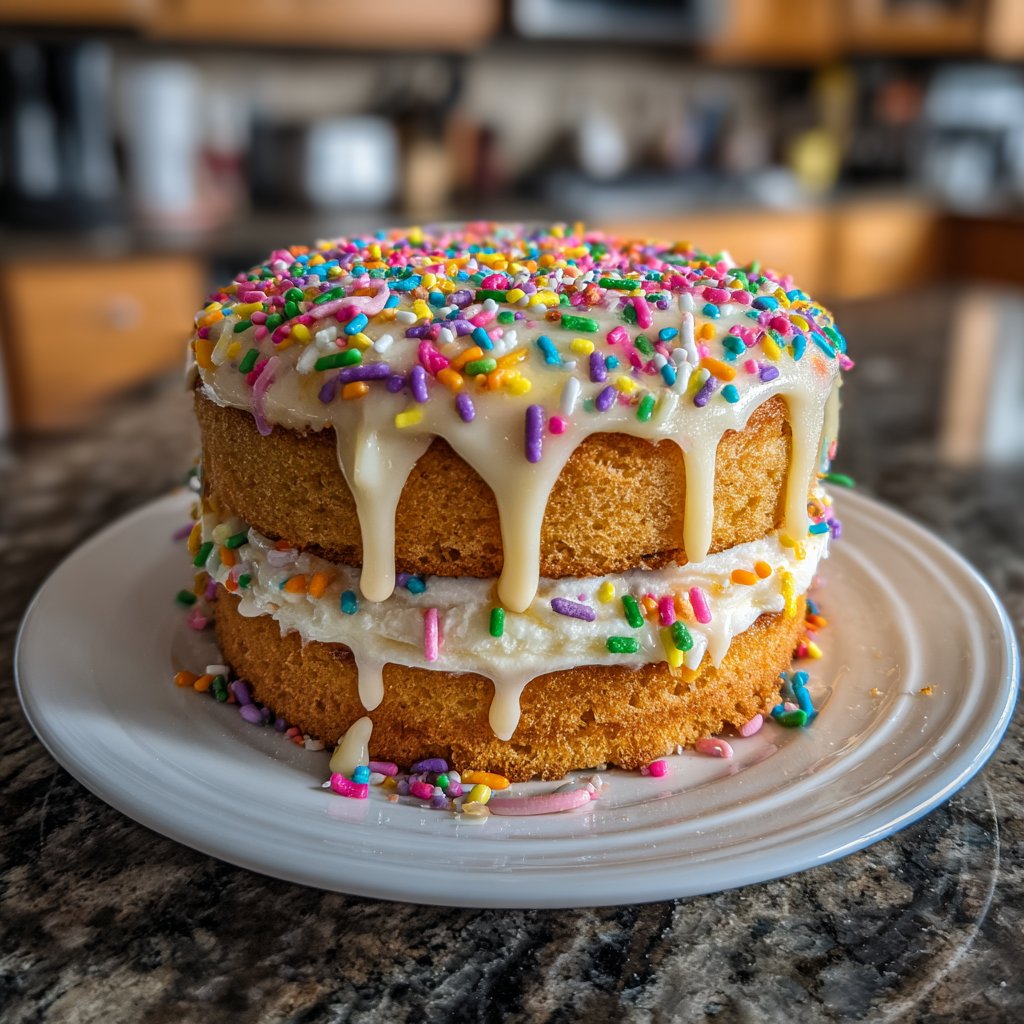
I love celebrating special occasions with a homemade cake, and the Jellycat Birthday Cake with Vanilla Sponge has become a favorite in my household. The whimsical design coupled with a light, fluffy sponge makes it perfect for birthdays. Each bite is a delightful mix of sweetness and fun, guaranteed to please kids and adults alike. Plus, the easy preparation means I spend less time in the kitchen and more time with my loved ones, creating wonderful memories while we enjoy this delightful treat.
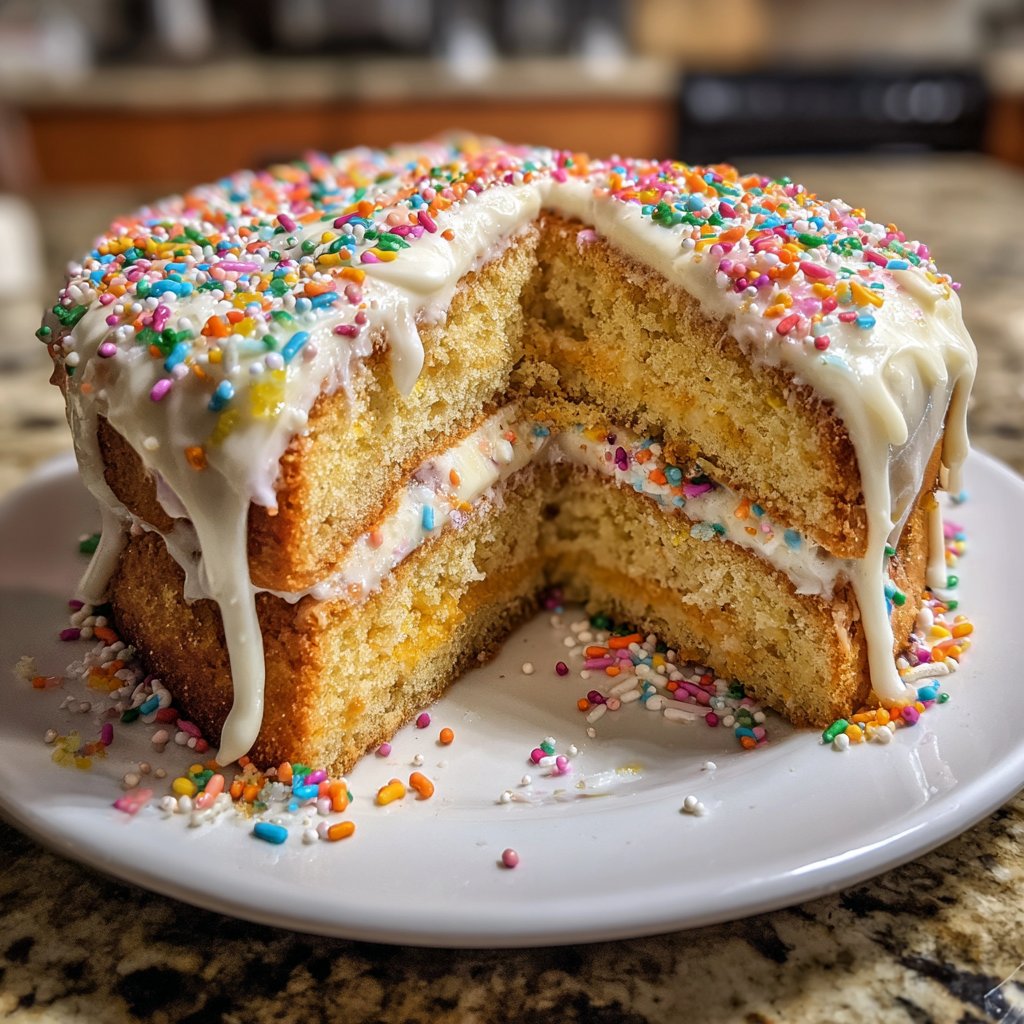
When I decided to make this Jellycat Birthday Cake, I wanted something that would not only be visually stunning but also utterly delicious. I experimented with different vanilla sponge recipes and found that a method incorporating whipped egg whites created an incredibly light texture. This simple tip elevated the cake, ensuring it wasn’t dense and allowed the flavors to shine through.
Decorating the cake was just as fun as baking it. I used a mix of pastel-colored buttercream and fondant to create a Jellycat theme. It was a delightful process, and seeing smiles on my family's faces as they enjoyed this sweet creation made it all worth it. Make sure you let your sponge cool completely before decorating to avoid any melting mishaps!
Why You'll Love This Cake
- Whimsical design that captivates and delights
- Light vanilla sponge that's fluffy and delicious
- Perfect for kids and adults alike on special occasions
Understanding the Vanilla Sponge
The foundation of this Jellycat Birthday Cake lies in its vanilla sponge, which is not only light and fluffy but also serves as a perfect canvas for your decorations. The combination of creaming softened butter with granulated sugar is essential; it introduces air into the mixture, making the sponge rise beautifully during baking. Always ensure your butter is at room temperature for optimal aeration and aim for a pale, fluffy mixture, which typically takes about 3-5 minutes of beating.
When it comes to the eggs, incorporating them one at a time allows for better emulsification, which ensures a tender crumb in the final cake. If you find that your mixture is too thick after adding the dry ingredients and milk, a small splash of additional milk can help create a more fluid batter without compromising the cake's structure. Make sure not to over-mix once you combine the wet and dry ingredients; mixing just until combined yields the best texture.
Buttercream Frosting Tips
Creating the perfect buttercream frosting is vital for this cake, as it not only provides flavor but also acts as the glue for your decorations. Start by creaming the softened butter until it's light and fluffy before gradually adding the powdered sugar. This method helps to prevent a messy cloud of sugar that can occur when powdered sugar is added all at once. Ideally, mix on low speed to control the blending process and then increase to medium-high until the frosting is glossy and smooth.
If you want a more vibrant color for your frosting or decorations, consider gel food coloring instead of liquid. Gel options provide a richer hue without compromising the consistency of your frosting like liquid colors can. Additionally, if your frosting is too thick, adding a tablespoon at a time of milk will help reach the desired spreadable consistency. Don't forget to taste as you go, adjusting vanilla or sweetener levels to suit your palate!
Decoration Techniques
The whimsical Jellycat design is what truly brings this birthday cake to life, and working with fondant is a fantastic way to achieve this. To make the fondant more pliable, you can knead it well and even use a small amount of cornstarch to prevent sticking. Roll it out to about 1/8 inch thickness to ensure it drapes nicely over your cake without cracking, and use a sharp knife or fondant tools for clean, defined shapes.
When it comes to decorating, layering is key. Start with a smooth buttercream base before adding fondant or additional decorations like edible glitter or sprinkles. These can be applied to the sides of the cake for a fun pop of color and texture. For a more professional look, utilizing a cake turntable can help achieve even frosting and decoration all around the cake, allowing you to meticulously arrange your Jellycat design to be charming and eye-catching.
Ingredients
Gather the following ingredients to create this delightful Jellycat Birthday Cake:
Vanilla Sponge Cake
- 2 cups all-purpose flour
- 1 1/2 cups granulated sugar
- 1/2 cup unsalted butter, softened
- 1 cup milk
- 3 large eggs
- 2 1/2 tsp baking powder
- 1 tsp vanilla extract
- 1/2 tsp salt
Buttercream Frosting
- 1 cup unsalted butter, softened
- 4 cups powdered sugar
- 2-3 tbsp milk
- 1 tsp vanilla extract
- Food coloring (for decoration)
Decorations
- Fondant (for Jellycat design)
- Sprinkles
- Edible glitter
With these ingredients on hand, you're ready to bake a beautiful Jellycat Birthday Cake!
Instructions
Follow these steps to create your Jellycat Birthday Cake:
Prepare the Oven and Pans
Preheat your oven to 350°F (175°C) and grease and flour two 9-inch round cake pans.
Mix Dry Ingredients
In a bowl, whisk together the flour, baking powder, and salt until well combined.
Cream Butter and Sugar
In a separate bowl, cream the softened butter and granulated sugar together until light and fluffy.
Add Eggs and Vanilla
Beat in the eggs, one at a time, and then stir in the vanilla extract.
Combine Mixtures
Alternate adding the dry ingredients and milk into the creamed mixture, mixing until just combined.
Bake the Cakes
Divide the batter between the prepared pans and bake for 25 minutes, or until a toothpick comes out clean.
Cool and Frost
Let the cakes cool in the pans for 10 minutes before transferring to a wire rack to cool completely. Once cooled, frost with buttercream.
Decorate
Use fondant and other decorations to create a delightful Jellycat design on top of the cake.
Enjoy slicing into your beautiful Jellycat Birthday Cake!
Pro Tips
- Make sure your ingredients are at room temperature for the best results, especially the eggs and butter. This helps create a smoother batter and improves the cake's texture.
Make-Ahead Tips
To save time on the day of the celebration, consider baking the cakes a day in advance. Once baked and cooled, wrap the cakes tightly in plastic wrap and store them at room temperature. This not only streamlines your baking day but can actually enhance the sponge's flavor as it sits. Just remember to frost them with buttercream once you're ready to serve, as the frosting helps lock in moisture for a fresher taste.
If you're planning on making this cake for a larger gathering, the sponge can easily be doubled. Simply adjust your ingredient quantities and divide the batter equally among additional pans for more layers. Keep an eye on the bake time, as thicker cakes may need an extra 5-10 minutes in the oven to ensure they are fully cooked through.
Storage and Freezing
Should you have leftovers after the celebration, jelly cakes can be stored tightly covered in the fridge for up to 5 days. The cake will remain moist and delicious, though it’s best enjoyed fresh. To prevent the sponge from becoming overly dense, consider placing a slice in the microwave for about 10 seconds before enjoying; this rejuvenates the texture significantly.
For longer storage, you can freeze the unfrosted layers. Wrap them well in plastic wrap and aluminum foil before placing them in a freezer-safe container, and they can last up to 3 months. When you're ready to use them, simply thaw in the fridge overnight and frost as desired once they have returned to room temperature. This makes for a quick dessert opportunity whenever the craving strikes!
Serving Suggestions
To elevate your servoing experience, consider pairing the Jellycat Birthday Cake with a scoop of vanilla ice cream or fresh berries. The combination of the cake's light sponge with creamy ice cream creates a delightful contrast, making for an irresistible dessert plate. You could also serve the cake alongside flavored whipped cream or a drizzle of chocolate sauce for an extra touch of indulgence.
If you're interested in flavor variations, think about infusing the vanilla sponge with citrus zest or almond extract for a twist on the classic profile. These subtle changes can add depth without overshadowing the whimsical nature of the cake. Don't hesitate to experiment—every birthday is an opportunity to get creative with flavors and styles!
Questions About Recipes
→ Can I use a different flavor for the sponge?
Absolutely! You can substitute the vanilla extract with almond or lemon extract for a different flavor profile.
→ How can I store the leftover cake?
Store leftover cake in an airtight container at room temperature for up to 3 days. You can also refrigerate it for a longer shelf life.
→ Can I freeze this cake?
Yes, you can freeze the cake layers individually. Just wrap them tightly in plastic wrap and store them in a freezer-safe bag for up to 3 months.
→ What can I use if I don’t have fondant?
If you prefer not to use fondant, you can use more buttercream to create decorations or even whipped cream for a lighter touch.
Jellycat Birthday Cake with Vanilla Sponge
Created by: The Chefezekielcooks Team
Recipe Type: Dessert Recipes
Skill Level: Intermediate
Final Quantity: 12 servings
What You'll Need
Vanilla Sponge Cake
- 2 cups all-purpose flour
- 1 1/2 cups granulated sugar
- 1/2 cup unsalted butter, softened
- 1 cup milk
- 3 large eggs
- 2 1/2 tsp baking powder
- 1 tsp vanilla extract
- 1/2 tsp salt
Buttercream Frosting
- 1 cup unsalted butter, softened
- 4 cups powdered sugar
- 2-3 tbsp milk
- 1 tsp vanilla extract
- Food coloring (for decoration)
Decorations
- Fondant (for Jellycat design)
- Sprinkles
- Edible glitter
How-To Steps
Preheat your oven to 350°F (175°C) and grease and flour two 9-inch round cake pans.
In a bowl, whisk together the flour, baking powder, and salt until well combined.
In a separate bowl, cream the softened butter and granulated sugar together until light and fluffy.
Beat in the eggs, one at a time, and then stir in the vanilla extract.
Alternate adding the dry ingredients and milk into the creamed mixture, mixing until just combined.
Divide the batter between the prepared pans and bake for 25 minutes, or until a toothpick comes out clean.
Let the cakes cool in the pans for 10 minutes before transferring to a wire rack to cool completely. Once cooled, frost with buttercream.
Use fondant and other decorations to create a delightful Jellycat design on top of the cake.
Extra Tips
- Make sure your ingredients are at room temperature for the best results, especially the eggs and butter. This helps create a smoother batter and improves the cake's texture.
Nutritional Breakdown (Per Serving)
- Calories: 350 kcal
- Total Fat: 20g
- Saturated Fat: 12g
- Cholesterol: 80mg
- Sodium: 150mg
- Total Carbohydrates: 45g
- Dietary Fiber: 1g
- Sugars: 35g
- Protein: 3g